Today, you can do almost everything from home. You do business from home, work from home, do banking transactions, shop from home, etc. So, why can you not have your acrylic nail manicure at home? The good news is that you can. If you do not know the procedure, it is not a problem. We shall discuss how to have an acrylic nail manicure at home in the most straightforward manner.
Step by Step Apply Acrylic Nails at Home
Get your nail kit
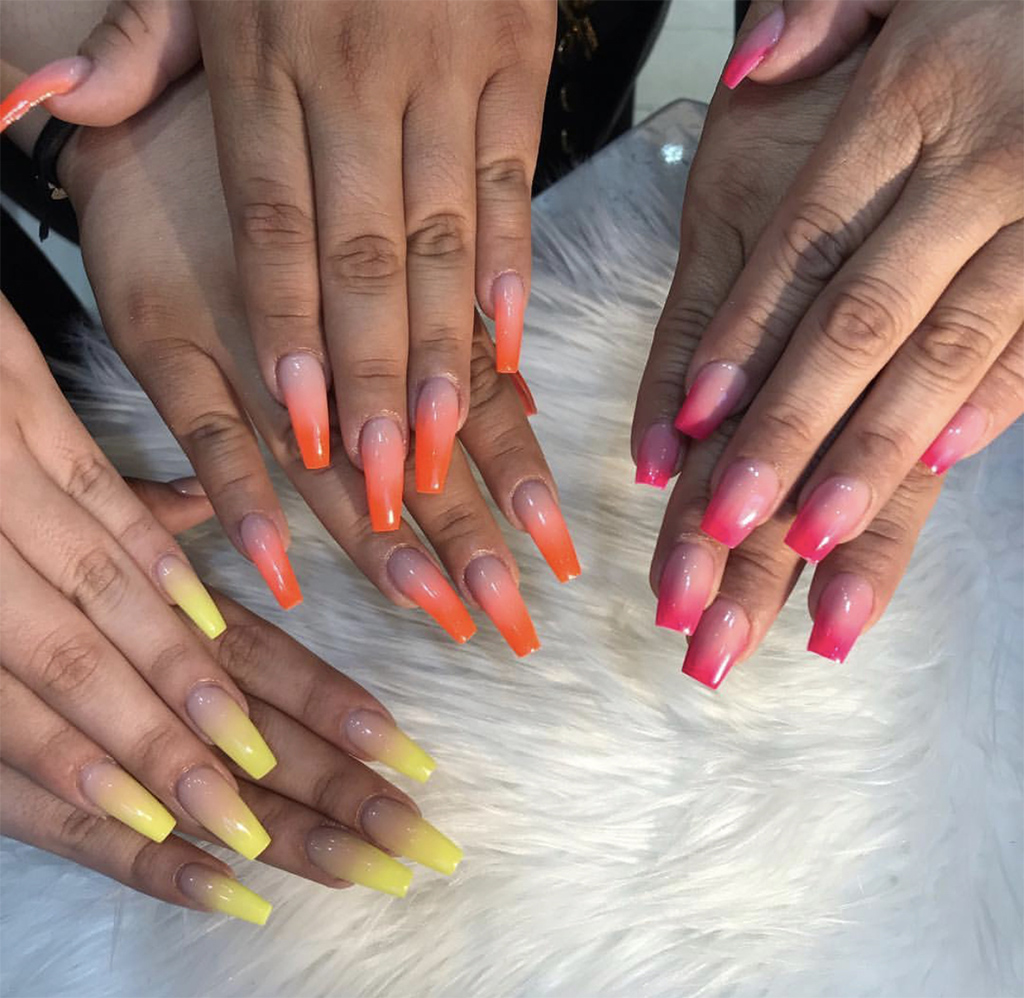
If you are trying out acrylic powder colors for the first time, you better get your kit ready. Your kit contains all the ingredients required for an excellent acrylic nail manicure. First, however, you go through the ingredients and check for MMA (Methyl Methacrylate). MMA is a dental acrylic and not suited for your nails. Instead, your acrylic powder should contain EMA (Ethyl Methacrylate).
You can also purchase your nail supplies separately. Make a note of what you should have handy before an acrylic nail manicure.
- The acrylic nail tips should be long enough to let you trim down to size. The nail tip glue is crucial as it helps fix the extension to your nails.
- Keep your nail clippers, nail files, and buffs ready.
- Check out for EMA in your wholesale acrylic powder. You will need the acrylic liquid to mix and create acrylic nails.
- Other ingredients include an acrylic bowl and acrylic brush.
Get your nails ready for the job
Before starting the acrylic manicure, remove the existing nail polish from your nails using an acetone-based oil-free nail polish remover. It is good to soak the nails in acetone and remove the polish rather than peeling it off. Peeling your nails can damage them and make them thinner.
Trim your nails and keep them at a manageable length. File the edges and smooth them. Buff your nail surface with a clean nail buff. The idea is to have a better surface for the nail extension to stick.
Push your cuticles into their grooves and apply a layer of cuticle oil over them. It ensures that the nail polish does not stick to the cuticle during the manicure.
Use the nail primer to remove the moisture and oils from your nail because the oil on the nail surface does not allow the nail extension to stick correctly. It is advisable to use a lint-free nail wipe dipped in alcohol. Besides cleaning the surface, alcohol disinfects it. When applying the primer, ensure that it does not get on your skin. The acid-based primers can cause a burning sensation. However, you can use acid-free primers if required.
Apply the acrylic tips
While applying your nail extension tips, ensure that they fit your nails. Then, you can trim them down if necessary. Next, use a dab of acrylic glue on the nail extension tip and fix it to your nail, with the tip centered halfway down the nail surface. Press on the tip for around ten seconds to let the glue dry. Then, you can cut your nail extensions to your preferred length.
Get the acrylics ready
Pour the acrylic liquid into a separate container, and the acrylic dip nails in a dish. It is better to exercise care because acrylic can give out toxic fumes. Therefore, it is advisable to work in a ventilated area.
Dip a clean brush into the acrylic liquid and ensure no bubble formation. Remove the excess liquid from the brush by sliding it across the container’s sides. Run the brush into the acrylic powder so that a small acrylic powder ball gets collected on the brush’s tip. This technique requires some practice.
Apply the mixture to your nails
Start from the smile line of your nails and flatten the acrylic ball as you stretch the brush tip over the acrylic extension. Make the transition between your natural nail and the extension as smooth as possible. Next, take another acrylic ball and get the acrylic closer to the cuticle without touching it. Wipe your brush clean after every use. You can avoid lumps if you use small strokes in a single direction.
Allow the acrylic to dry
The acrylic solution should take around ten to fifteen minutes to dry. Tap your nail with the brush handle to get a clicking sound.
Finish the procedure
Once the nails have been set in place, you can use the coarse nail file to shape the tips according to your preference. Next, use a clean brush to remove the dust created by the nail drill. Then, you can proceed with a clear nail polish coat.
After two weeks, your natural nail growth starts to peep out. You can reapply acrylic or remove them, depending on your choice.
A Useful Tip
It is advisable to get quality wholesale acrylic powder when using acrylic because such manicures last long and do not harm your nails.


